

 WishLists
 My Account


If you have decided to make the switch to artificial outdoor plants, congratulations. You will not be sorry. One summer of not having to trim back, weed, and water like crazy and you will be so glad that you made this major change to your landscape. I personally just made the switch myself and I will personally guide you through the process. All week my blogs will focus on using artificial outdoor plants in your landscape, so stay tuned for more information. Today, we will focus on prep work.
Let’s start by showing you my before. The big random space above the stones is where we had a Little Tikes water table. I removed that before taking this picture so that you could see the purple bushes that had been bordering my house.
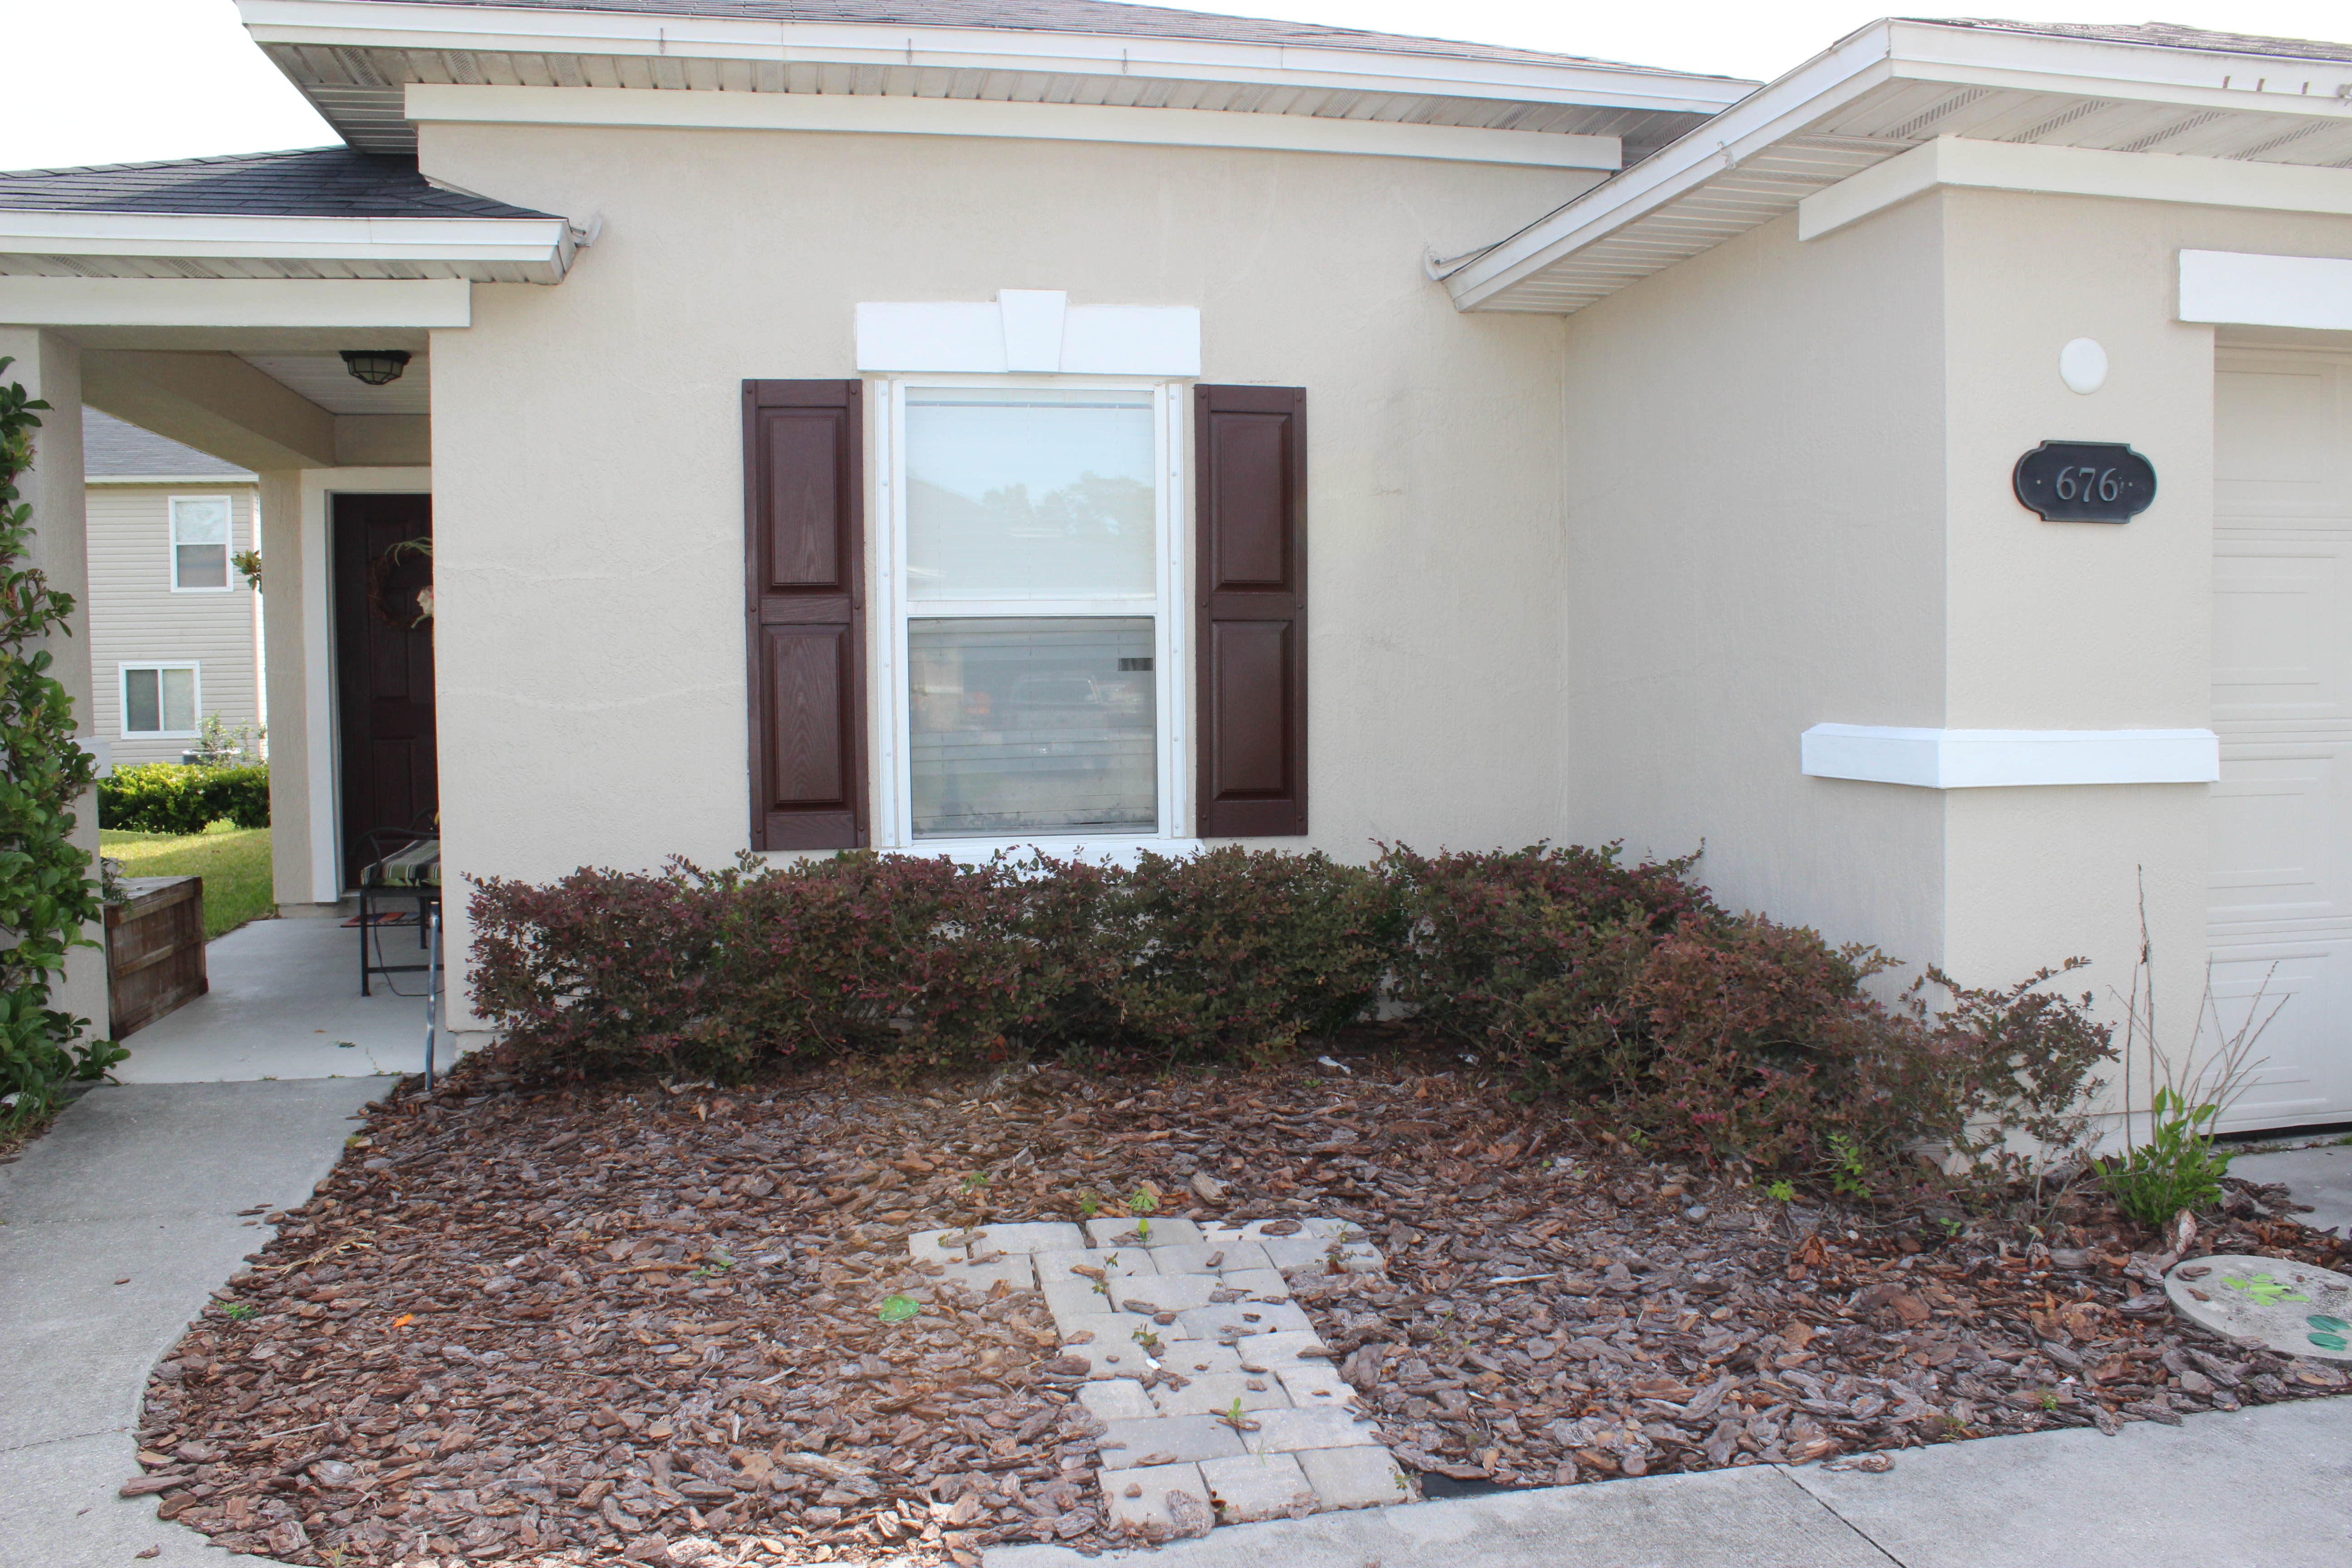
Before
Out with the Old
First things first. You have to go ahead and tear out any old plants that you no longer want. I decided to leave just one natural plant from before, a hibiscus that I have been trying to nurse back to health after our unusually cold winter. Go ahead and rip out roots and all, or as many of them as you can anyway.
Once you have the plants ripped out, shovel up all your old mulch or tanbark, bag it up, and dispose of it. You really do want to start with a clean slate if you are going all out and using all artificial plants and trees.
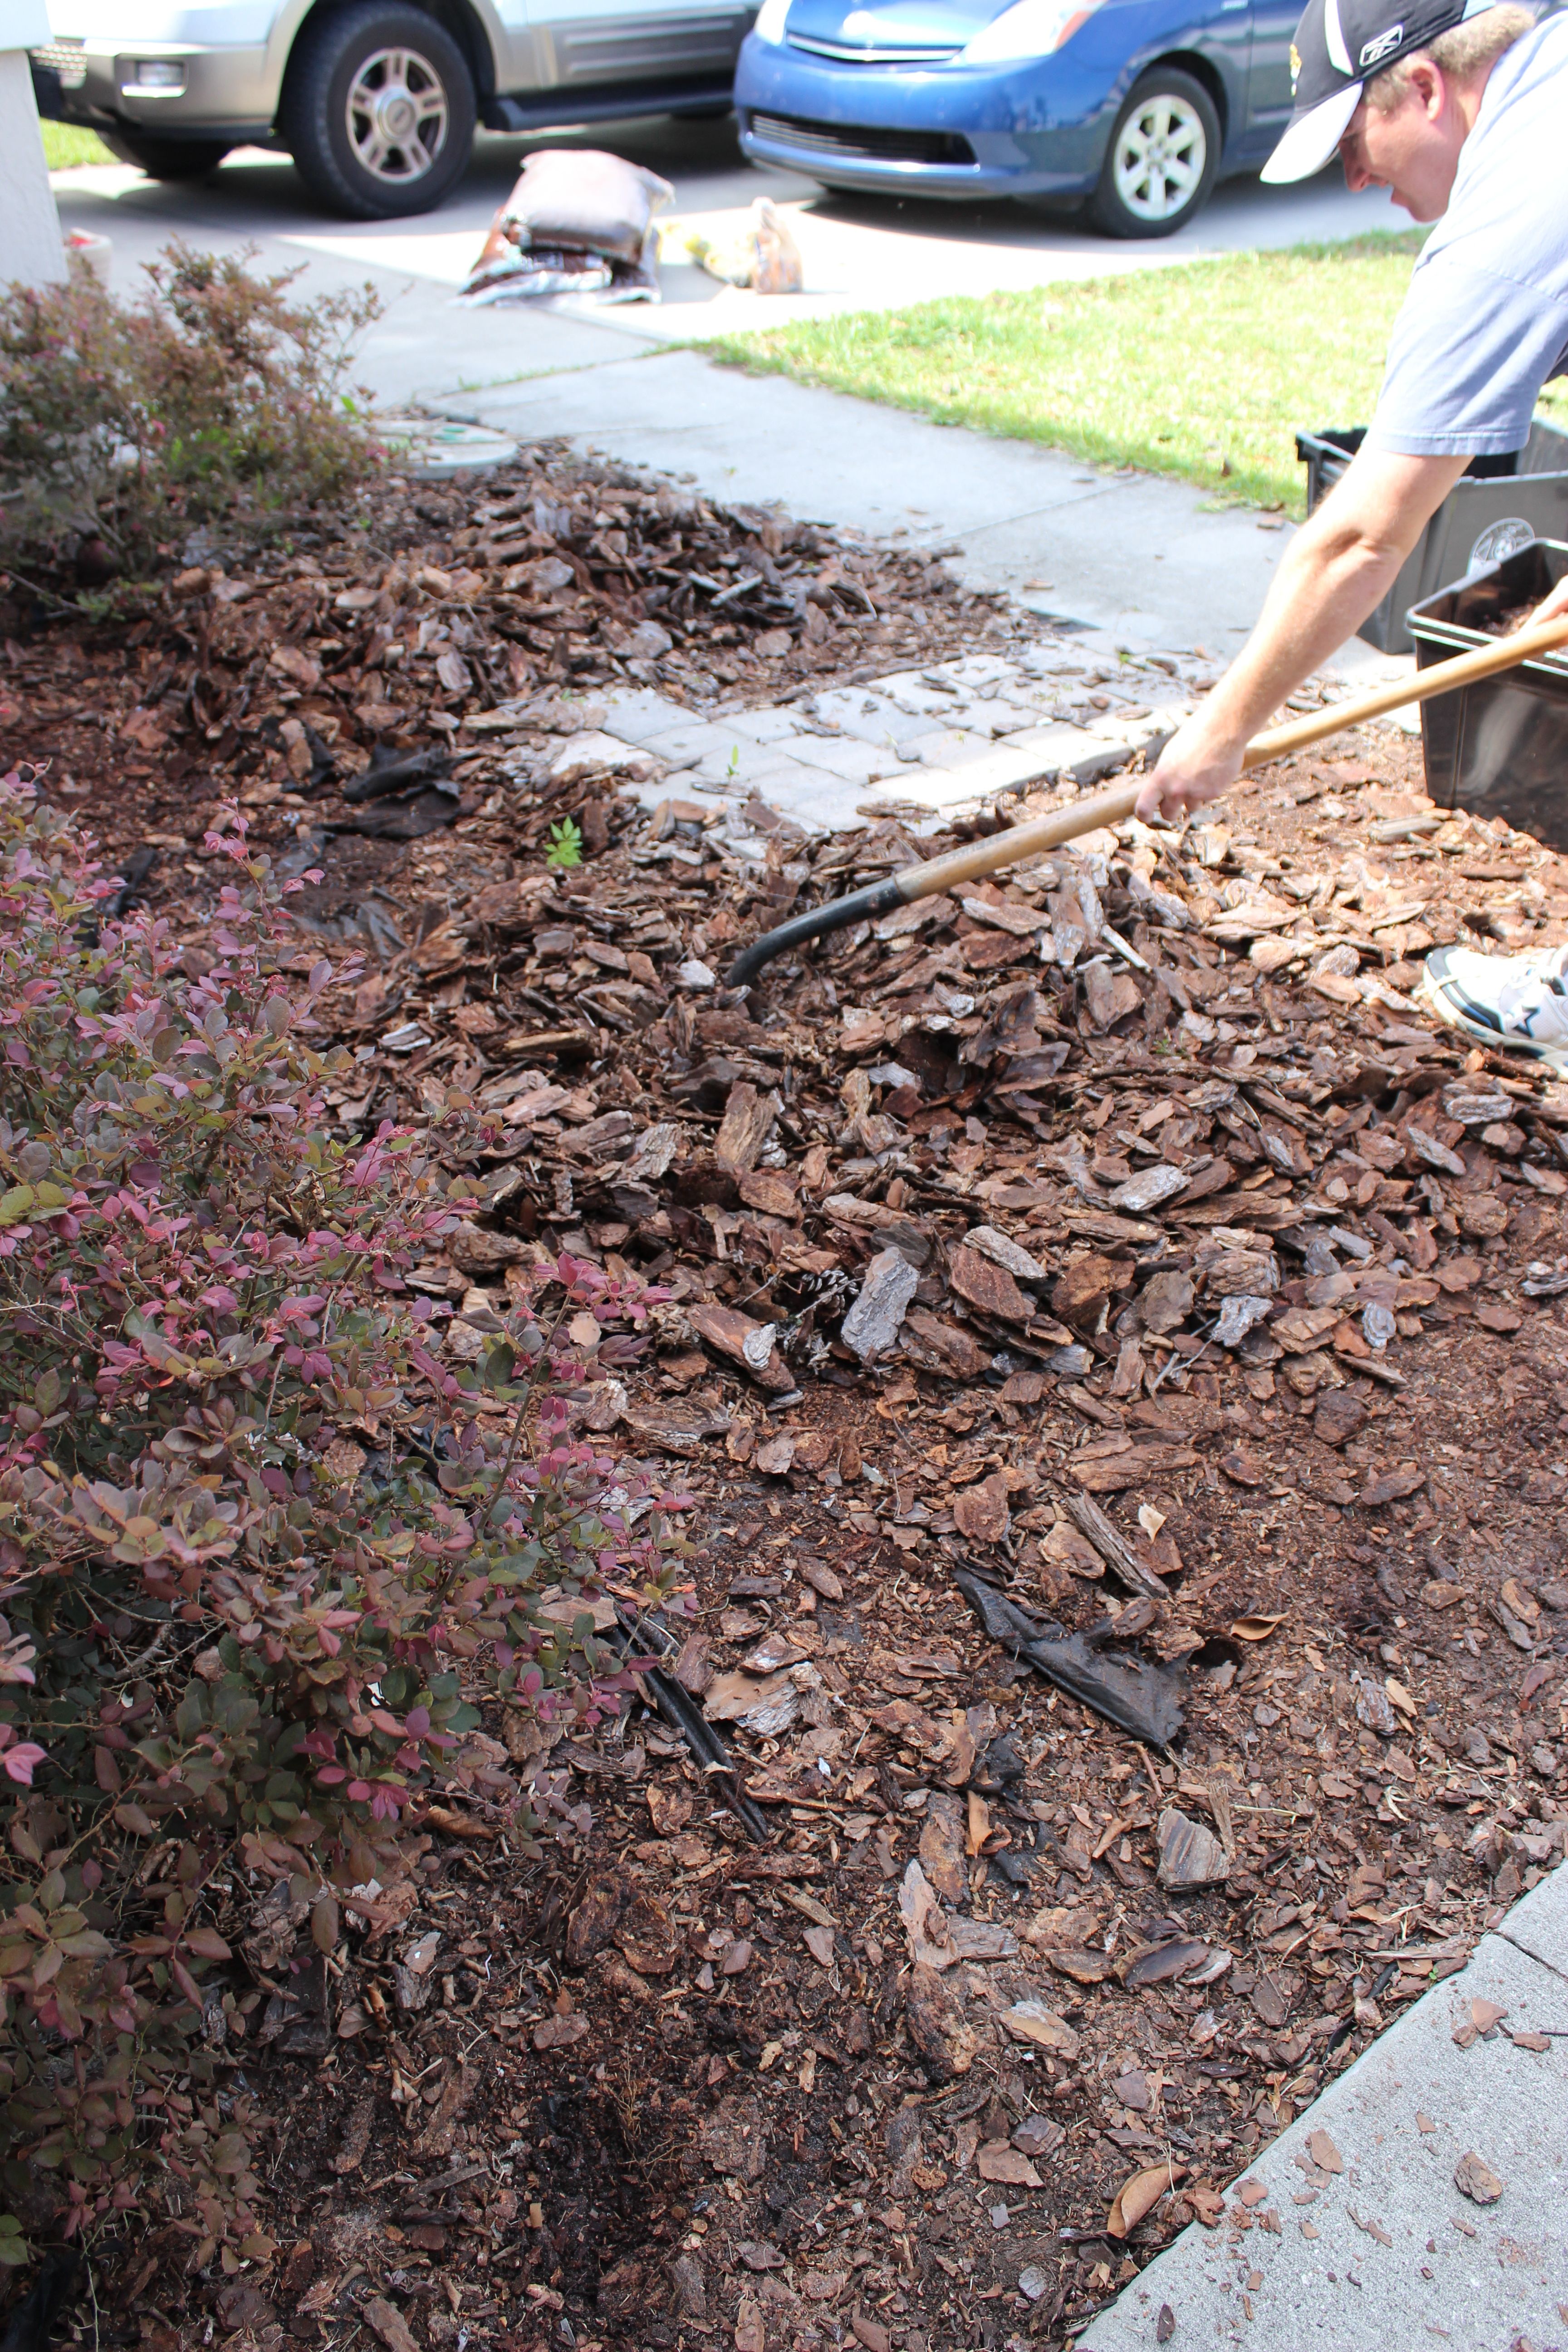
Shoveling Away Old Tanbark
Level Things Out
Once you have all the old stuff out of the way, take a rake and level out your soil, making sure that it slopes away from the house. Once you have the soil all leveled, go ahead and lay down a weed barrier. Believe me, you will be glad you did this. Weed barriers are available at your local home improvement store.
I bought a roll of Weed Block at Home Deopt. It was 3 feet wide by 50 feet long and was just enough to cover my flower bed. A roll of Weed Block ended up costing me $10. Throw in another $7 worth of pics that secure the barrier to the ground and I was ready for this step.
Open a pack of U-pins and use them to secure the end of your weed barrier next to your house, unroll it until you reach the end of your flower bed, cut it to size, and secure it with more U-pins. Continue doing this, overlapping each layer by an inch or so. Once you are done go back and add any remaining U-pins that you have, especially where two layers of barrier overlap.
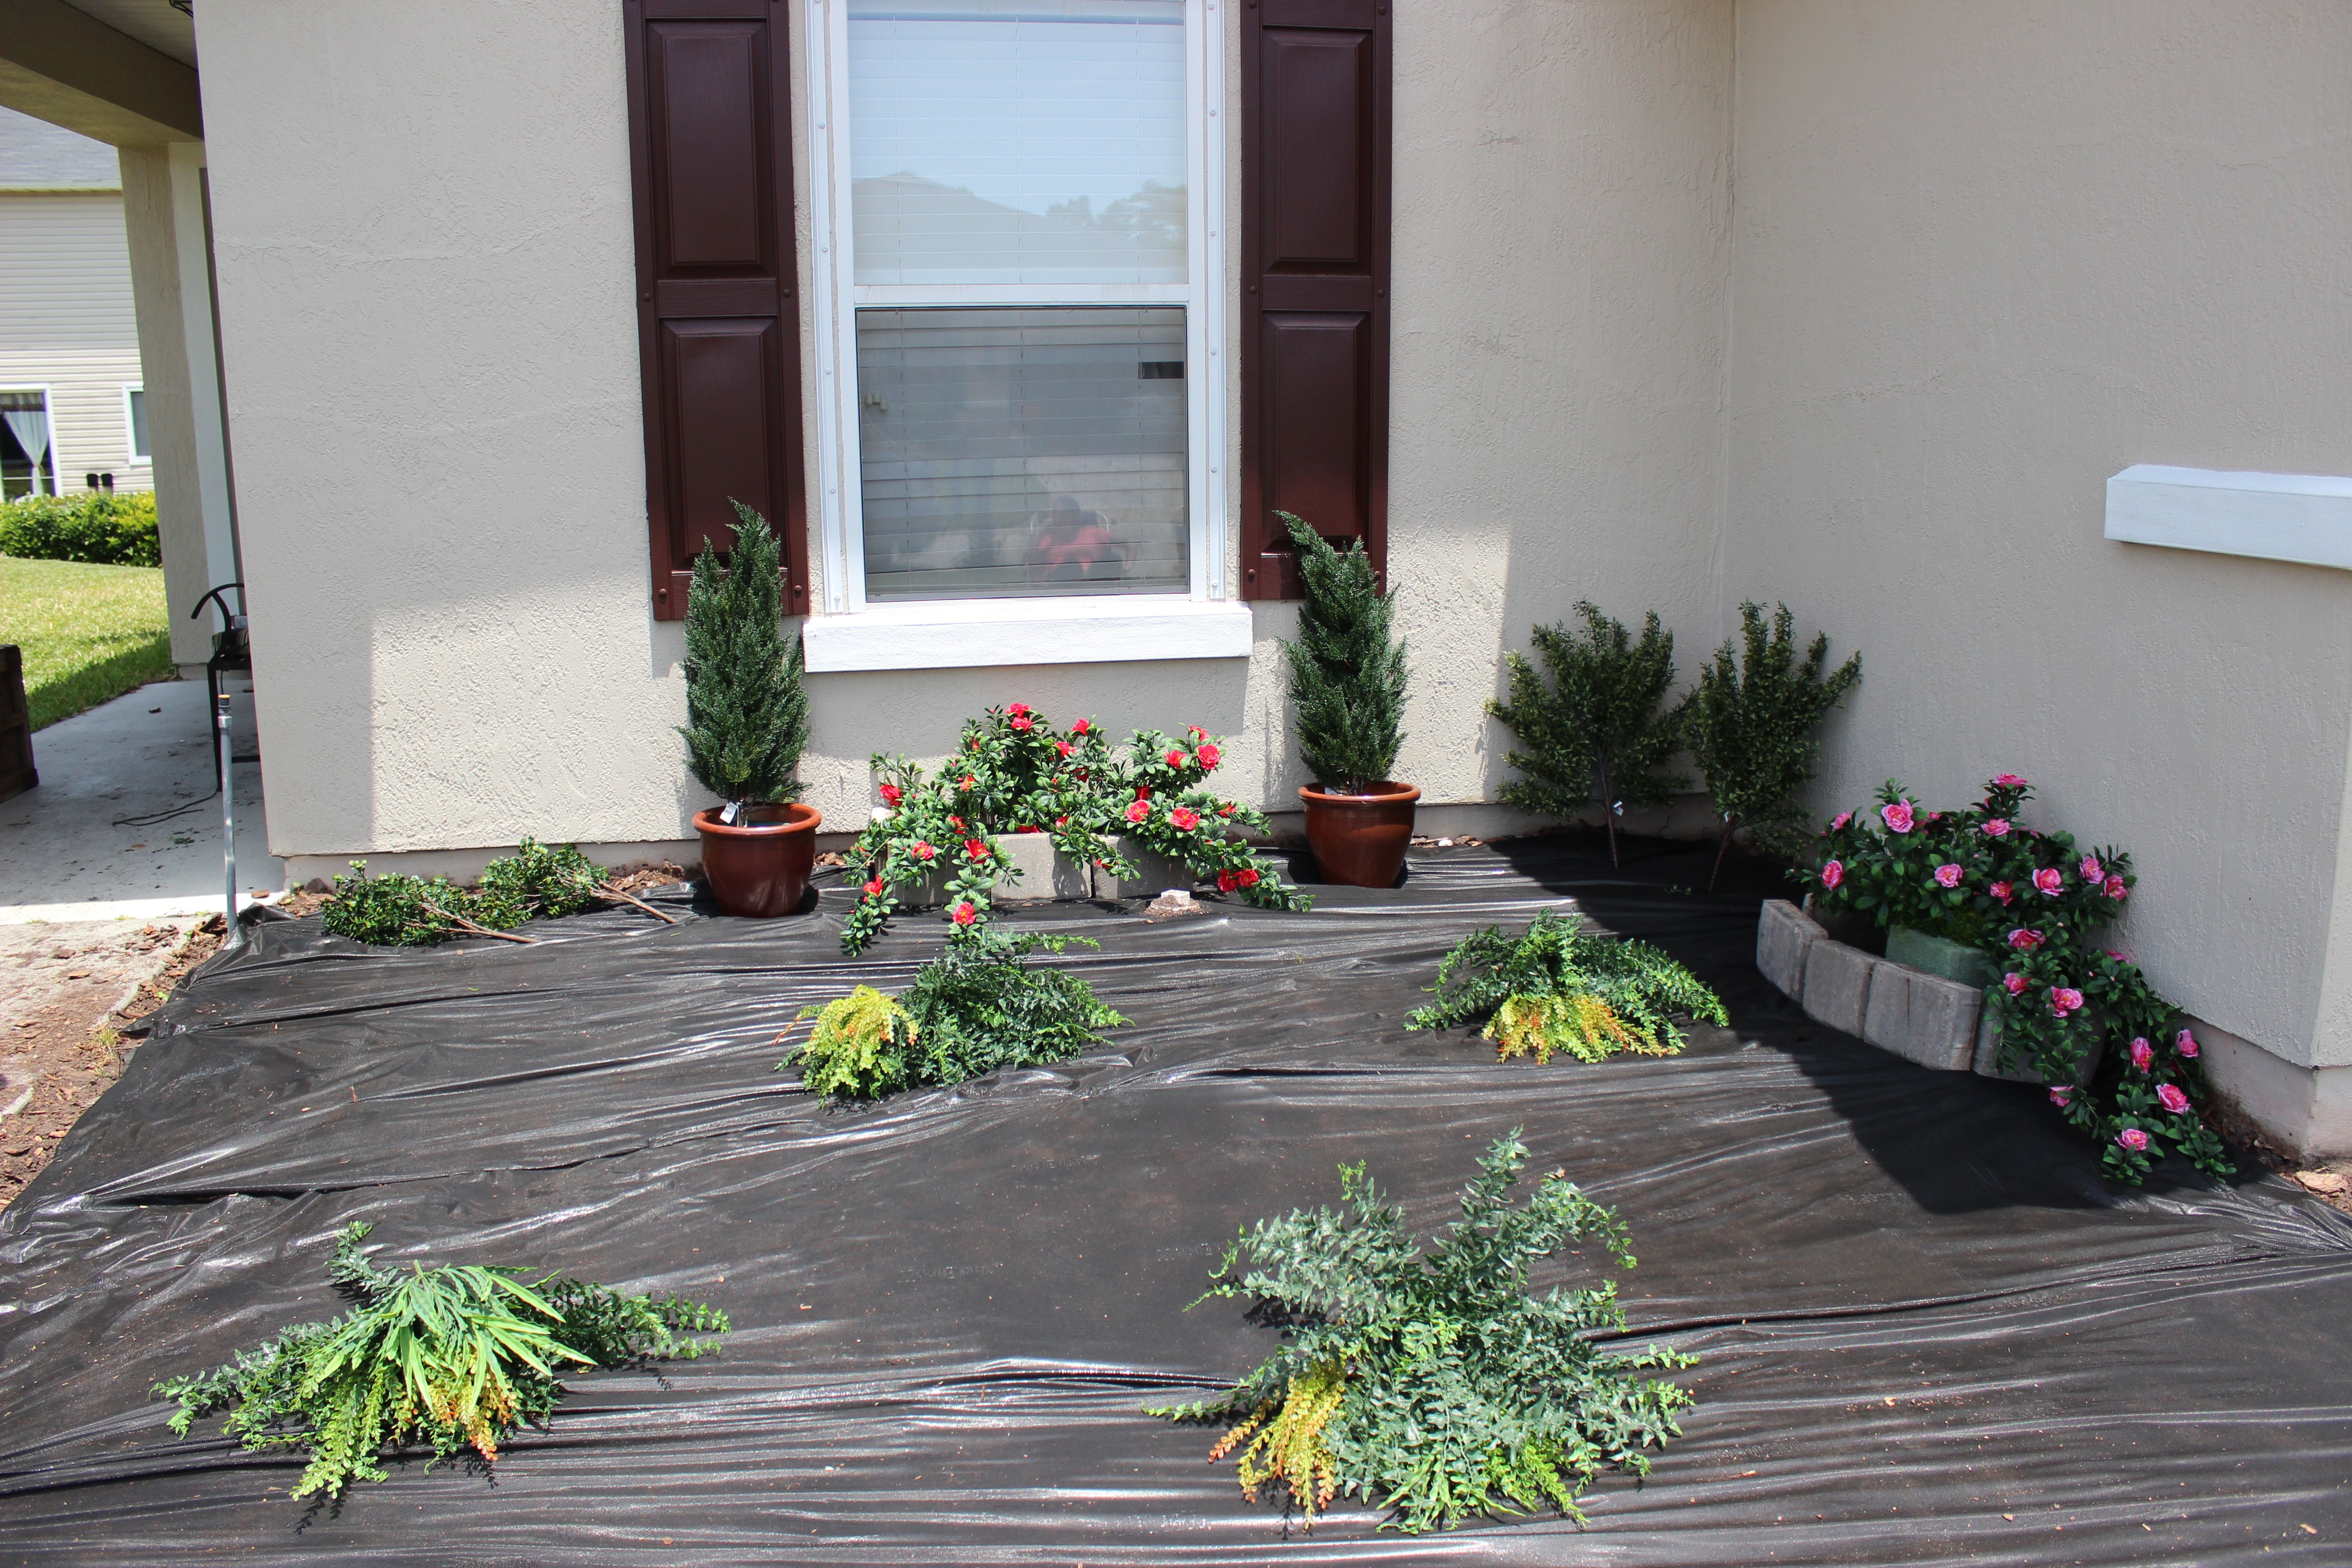
Weed Barrier and Layout
Lay Out Your Flowers
Once your weed barrier is down, the fun part begins. Take your blank slate of a flower bed and start roughly laying out your artificial flowers and trees where you want them. Do not pierce the weed block just yet. That is for another blog all together. For now, just lay out any pots, planters, bushes, and stems that you have. Step back, see what you think, and adjust accordingly. My best friend and I spent a LONG time doing this, but then again, we are complete perfectionists.
Laying ou your plants gives you a great visual and an opportunity to make a list of things you forgot the first time you were shopping. I decided to frame out my son’s bedroom window with a pair of artificial cypress trees. We also planned out two low planter boxes, each filled with two azalea bushes and two hanging azalea plants. a pair of boxwood bushes, a pair of polycaise bushes, four ferns, and a bunch of ribbon grass sprays and barberry branches later and we had our layout.
Stay tuned tomorrow for the next phase of our flower bed makeover.
About Philip Travers
Twitter •
