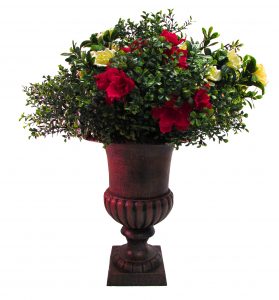
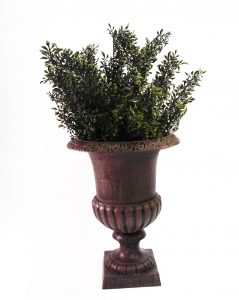
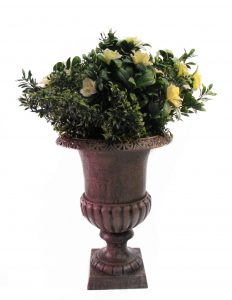
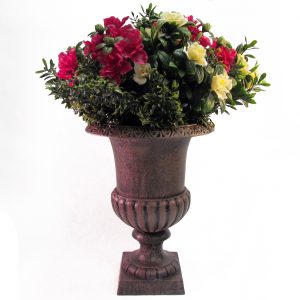
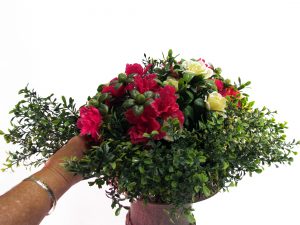
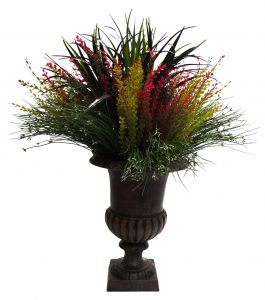
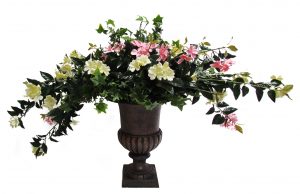
Get ready for another fun, easy DIY project because today we are going to show you how to make three beautiful artificial flower urn arrangements using one easy technique. A beautifully arranged urn can be used in many different ways to add texture, color, and warmth into a space. Unfortunately, arrangements using real flowers can be challenging to make and maintain. We made the whole process of having beautiful foliage on display year-round by trading out real flowers for top-quality artificial varieties. Once you see how easy it is to make these DIY artificial flower urn arrangements, you are going to want to feature them in at least one or two places around your home.
DIY Artificial Flower Urn Arrangements: 1 Urn 3 Looks
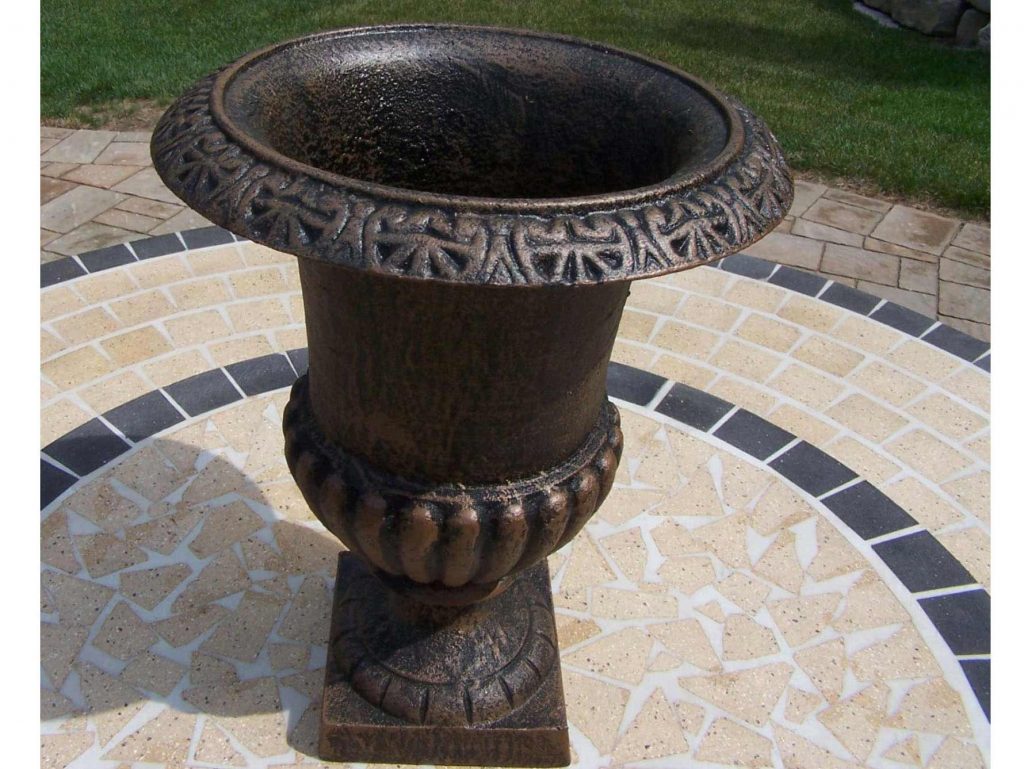
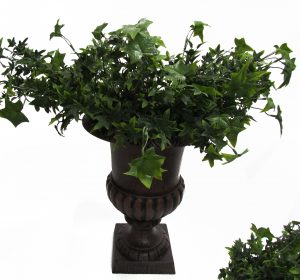
All three of the looks we are about to show you were started with one single urn. For this projects, we chose the Oakland Living 18-Inch Cast Iron Outdoor Roman Urn. This urn is a nice, heavy choice, ideal for outdoor spaces. The urn itself features classic style lines for a traditional look. You can choose any urn you like, as long as you opt for one with enough weight that it will not easily blow over on a gusty day. We also decided to use artificial flowers and greenery as our urn filler because it is low maintenance and stays looking beautiful throughout the year.
Once you have chosen your urn, it is all about how you are going to fill it. Let’s take a look at how we used this single urn to create three completely different floral arrangements. Before you can make any of the arrangements below, you must first prepare your pot by filling it with either rocks and soil or by filling it with outdoor grade wet florist foam. This will act as a foundation in which you can place the stems.
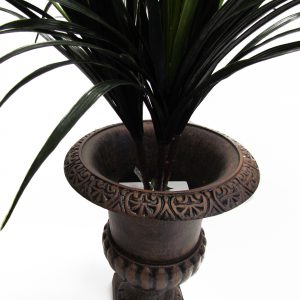
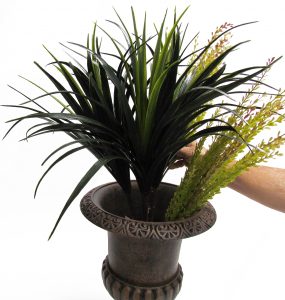
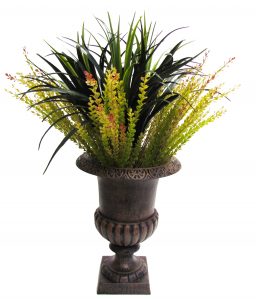
This same process was used to create two alternative urn arrangements. Instead of going trhough the whole process again, we will simply show you the list of components each urn was created with and a photo timeline of how each urn was created.
 |
 |
 |
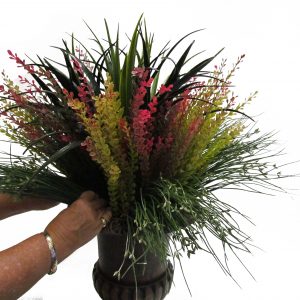 |
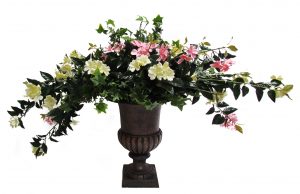
If you are interested in a more garden-inspired urn, our third arrangement may be the most inspiring. Beautiful, reaching florals are the star of the show for this third urn arrangement. Let us show you how easy it was to create this spectacular arrangement.
 |
 |
It is time to decide. Which of these beautiful urn arrangements is your favorite? The beauty of making DIY Artificial Urn Arrangements is that you can really customize them to meet the specific needs of your home. If one of these three arrangements didn’t quite appeal to you, try your own variation. A 16-Inch boxwood ball is the perfect one-step filler for one of these urns. A 45-Inch fern also makes a great choice.
Thank you for letting us show you how to create DIU Artificial Flower Urn Arrangements today. We do hope you enjoyed the step-by-step tutorial and all of our pictures. Subscribe to our blog to make sure you don’t miss out on any fun DIY projects.
About Philip Travers
Twitter •


 WishLists
 My Account


