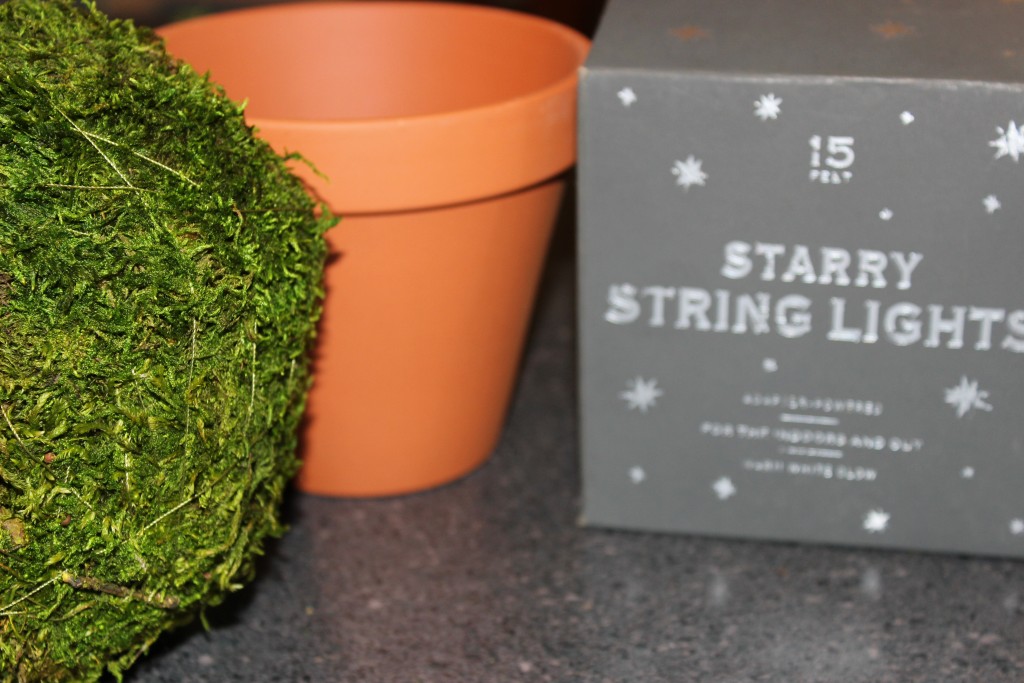
Today is day 3 of our countdown. Coming in at #3 of our 5 Best Video Tutorials of 2014 is our DIY Lighted Topiary. This is a fast and easy project that is perfect for beginners. Watch our video, gather your supplies, and decorate your home with this handmade topiaries.
Supplies:
- Moss Ball
- Terra Cotta Pot
- Strand of Starry Lights
- Florist Wire
- Wire Cutters
Step 1:
Start by opening you lights and unwinding them from the spool. Thread the strand of lights through the hole in the bottom center of the terra cotta pot.
Step 2:
Insert the end of your lights into the moss ball at least an inch or so. Start wrapping the lights around the moss ball. Wrap vertically at first and then switch to horizontally. Evenly spread out the lights around the ball. If the strand starts to slip, cut 1.5 inch lengths of florist wire, for it in half, and use them to adhere the strands to the ball. You can use as many florist wire pins or as few as you need to secure the lights to the ball.
Step 3:
Once you reach the end of your strand of lights, place the ball on top of the terra cotta pot. Plug your electrical cord into the wall or load it with batteries (depending upon how your strand is powered. You are left with a gorgeous lighted topiary that you can use to decorate your home all year long.
Try making this project in multiples. They look great lined up along a mantle or down the center of a dining room buffet.
Check Out All the Videos in Our Top 5
1 2 3 4 5
About Philip Travers
Twitter •


 WishLists
 My Account


[…] 2 3 4 […]